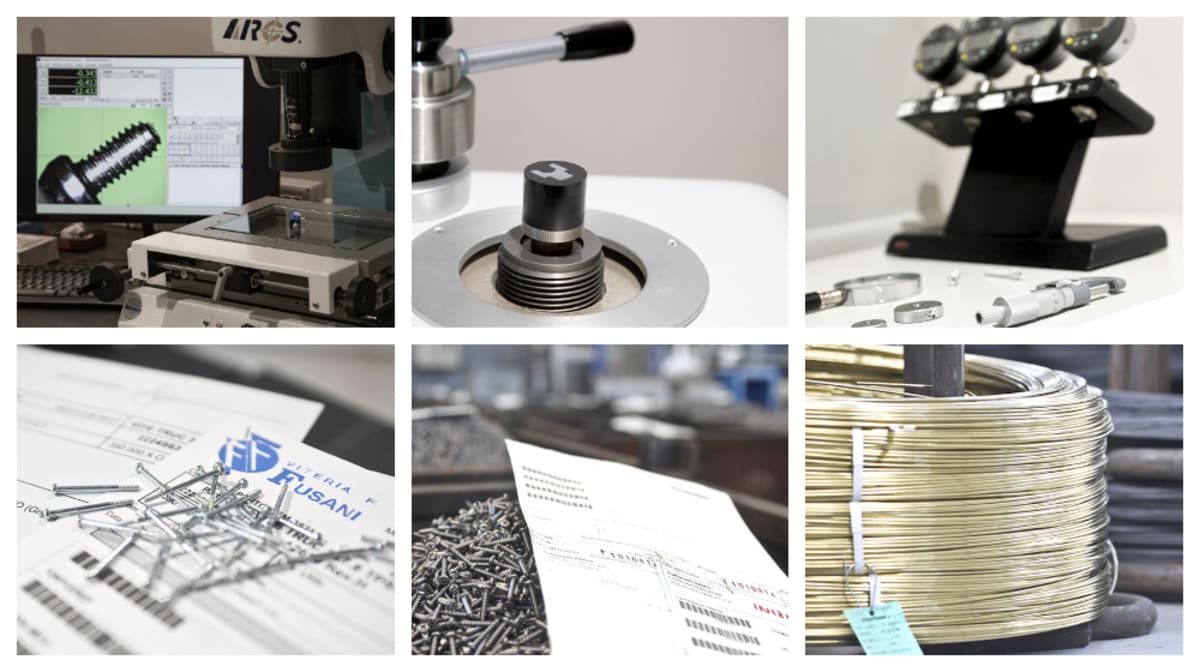
Discovering the quality control laboratory of screw manufacturer Viteria Fusani

Companies specializing in the production of custom-designed screws know how crucial it is to use rigorous quality controls.
First and foremost, screws must be manufactured with precise dimensions and tolerances to ensure proper installation and assembly. A screw that is too large or too small compared to the specified requirements can compromise the tightness, strength, and effectiveness of the system in which it is used. Additionally, screws must be designed to withstand significant mechanical loads and forces. A screw that fails to meet the necessary strength requirements could bend or break, jeopardizing the structural integrity of the object in which it is utilized.
Viteria Fusani stands out for the meticulous approach it takes in conducting quality checks to ensure the utmost reliability of its products. The quality controls performed are diverse and aim to assess key aspects such as tolerance compliance, strength, and material durability.
Acceptance controls
Viteria Fusani conducts material verification to ensure compliance with the specified requirements. Acceptance controls are also carried out for heat and galvanic treatments to ensure they have been performed correctly and that the treated materials meet the predetermined requirements. This involves measuring specific parameters such as corrosion resistance or other relevant chemical-physical properties.
Dimensional controls
Using measurement tools that undergo periodic calibration, Viteria Fusani performs dimensional measurements of the components according to specific drawing and control plans. This phase ensures that every screw produced meets the customer's required specifications.
Destructive testing
In addition to dimensional controls, destructive testing is conducted on a selection of samples. These tests include deformation stress, hardness, and torsion tests that evaluate the strength and durability of the screws under real usage conditions. Furthermore, Viteria Fusani performs checks on zinc-plated items (ROHS compliant) to check the thickness of the zinc layer using the appropriate Fisher Phaseoscope instrument. Additionally, the company stores samples with recorded measurement values for each batch for future uses.
Visual inspections
Visual inspections also hold great importance. Viteria Fusani ensures that each component is free of surface defects, guaranteeing aesthetic uniformity and performance.
Traceability
Viteria Fusani ensures complete traceability of its articles throughout all stages of the production process. By using containers of different colors, a specific processing status is assigned to the components, along with identification tags and production cards in each container and batch. The customer's order is processed and stored digitally for over 10 years, along with a physical archive containing samples of screws from each batch and article. This system enables repeated checks and verifications even after a significant amount of time, if necessary. Upon request, special tests can be performed on customer-supplied assemblies, and specific PPAP (Production Part Approval Process) test/control certificates can be issued.
The experts of Viteria Fusani are available for specialized consultations. You can contact them using the references provided on the side.

